A fun science project: A simple cloud chamber!
Safety warning: This project involves dry ice, which can really damage your skin if you make direct contact with it. If you attempt this activity, use appropriate safety precautions (like oven mitts and tongs to move the dry ice)
When I was a kid I always wanted to make a cloud chamber, which makes vapor trails of atomic particles visible to the naked eye. I first learned about it from reading a book by C. L. Stong titled “The Amateur Scientist”, which was a compilation of Stong’s columns in Scientific American. It’s an amazing book, and if you love tinkering as much as I do, it’s a terrific source of inspiration. It was published in 1960 (yes, I’m old) and I still have my copy (yes, I’m a bit of a packrat).
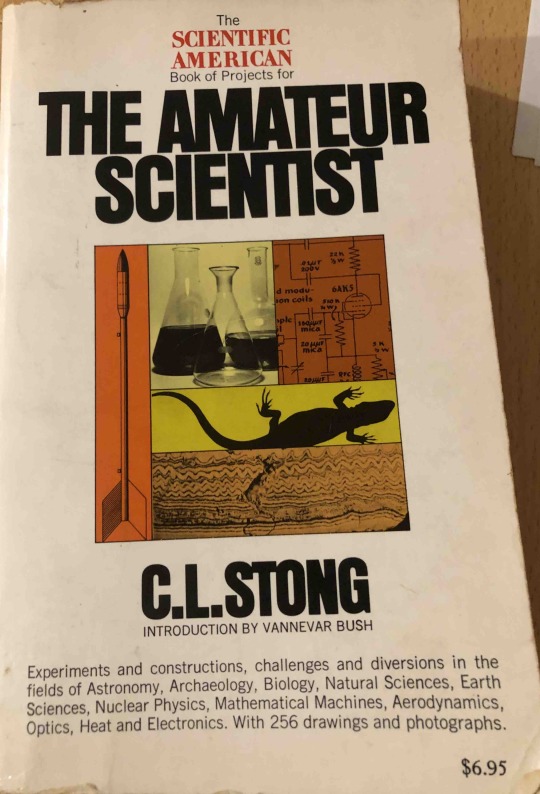
You can still order a used copy on Amazon for almost $60, but for the DIY science geek it’s well worth it (even today). Some of the chapters include “A homemade atom smasher”, “The Millikan oil-drop experiment”, “A simple magnetic resonance spectrometer”, “Homemade electrostatic generators”, “A low-speed wind tunnel”, “An electronic seismograph”, “A transistorized drive for telescopes”, and lots of other fun projects in many fields of science.
The chapter on cloud chambers is very thorough, explaining many different designs and even showing how you can use magnetic fields to detect curvature in the particle tracks and determine exactly which types of charged particles they might be.
Back in those days I didn’t have access to dry ice so never did the experiment, but now it’s available in every supermarket. When one of our boys needed a science project, I suggested this one, and he jumped at it.
Nowadays there are many resources available online, and one of the best is the one by Science Friday, but I want to describe some things we learned from doing it using that book from 1960 in case you want to try this yourself.
The basic idea is to take a glass jar with a metal screw top, stuff a sponge in the bottom of the jar, pour some 90+% rubbing alcohol on the sponge, screw on the lid, invert it, place it on some dry ice, shine a flashlight from the side, and see what happens. When it works, you first see what looks like a tiny drizzle of alcohol droplets, then every so often (a few times a minute for us) you see a trail of condensed droplets that appears and then falls at the same rate as the alcohol “rain”. Those are atomic particles making their way through the alcohol clouds (see the Science Friday link above for examples of how these look).
It’s not as simple I made it sound in the previous paragraph. The inside of the jar lid needs to be black, for contrast. The light needs to be just so. Your container needs to be clear enough for visibility.
It’s important to choose the right container. Our first attempt used a pickle jar (the one we happened to have) that didn’t have super clear glass (it was a bit wavy). Once we got a better jar it worked great, so check the visibility through the glass before choosing a jar. We also tried this with a short (about 3″) tall jar, and that didn’t work as well because the glass frosted over from cold too quickly. Get a taller one (more like 6-8″ high).
Some websites advocate using permanent marker on the inside of the jar lid to make it black, but we found that the alcohol removed the marker so this didn’t work so well. Based on advice from the Stong book, we ended up buying some velvet (about half a yard) from the fabric store and cutting a piece that was about 1.5 feet square. We placed this over the open jar and then screwed the top on (velvet side was inside the jar).
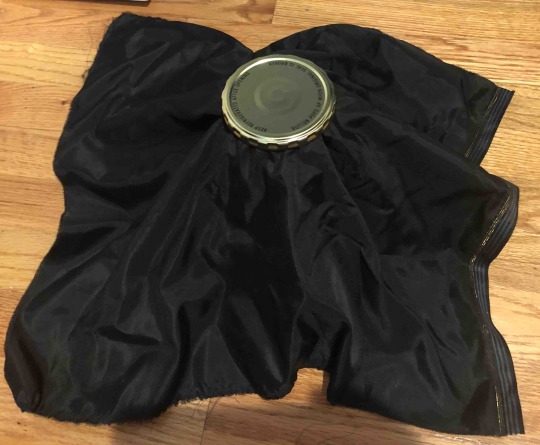
When you flip that over, it looks like this.
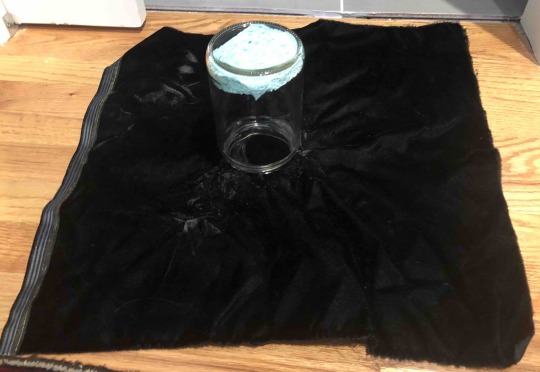
The nice thing about this setup is that you can cover the block of dry ice (ours was about 10″ square and 1.5″ high) with the velvet and the metal top conducts heat away from the metal top and through the velvet. Stong recommended adding a little alcohol to the velvet also (in addition to charging the sponge with it) and that seemed to work for us. The cloth also covers the dry ice and prevents dry ice “steam” from interfering from viewing. It also prevents direct contact with dry ice, as a safety measure.
We then needed to create a light, and we improvised using a headlamp and a can of beans.
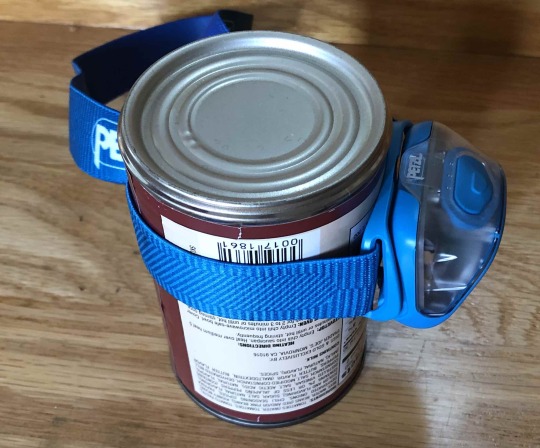
We put this to the side of the jar with the dry ice underneath,
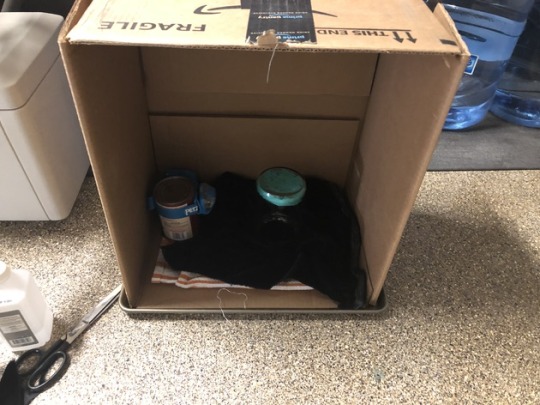
Here’s how it looked inside after we put the jar with velvet and the lighting source inside an Amazon pantry box, with the whole thing on a cookie sheet for ease of carrying. We also put a doubled up towel underneath the dry ice to insulate it.
Here’s how it looked inside the box with the light on.
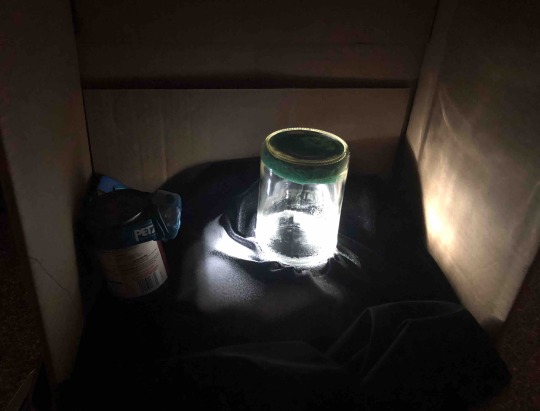
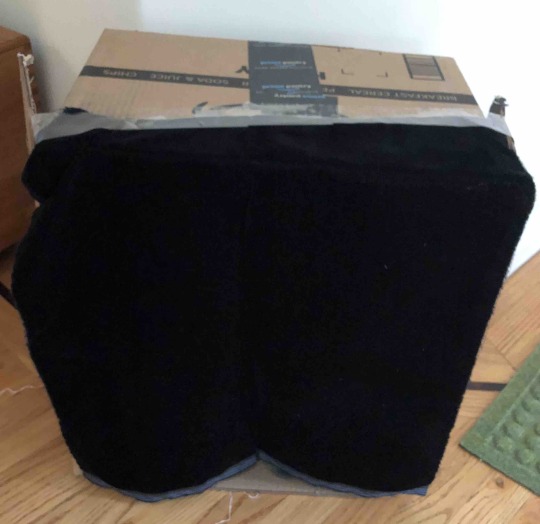
You’ll need to play with the lighting a bit. We used the rest of the velvet to make curtains so you can put your head inside the box for best viewing.
Soon after the lid cools down you can see tiny droplets falling, like alcohol rain. You have to watch intently for awhile before you see this, but once you recognize this effect, you know it’s working. Every 15-30 seconds you’ll see a trail, which is a line of droplets that condensed around a particle of some kind. These lines fall at the same rate as the alcohol rain, so they disappear quickly. We’ve seen a handful of really visible ones but it’s not like a giant rainstorm of particles, just an occasional one.
Timing is important for this. In 5-10 minutes after you place the jar lid on the dry ice it should be cold enough for the alcohol rain to start. After about 45-50 minutes the jar starts freezing up so best to get viewing in relatively soon after you’ve identified the alcohol rain.
In the Stong book they mentioned finding the little bit of radioactive material that exists in some old smoke alarms, which can in some cases lead to many more tracks if you place it near the chamber, but we didn’t have an old smoke alarm and so couldn’t try it.
Because this was for a science fair where other kids got to see the project, my son made a safety sign:
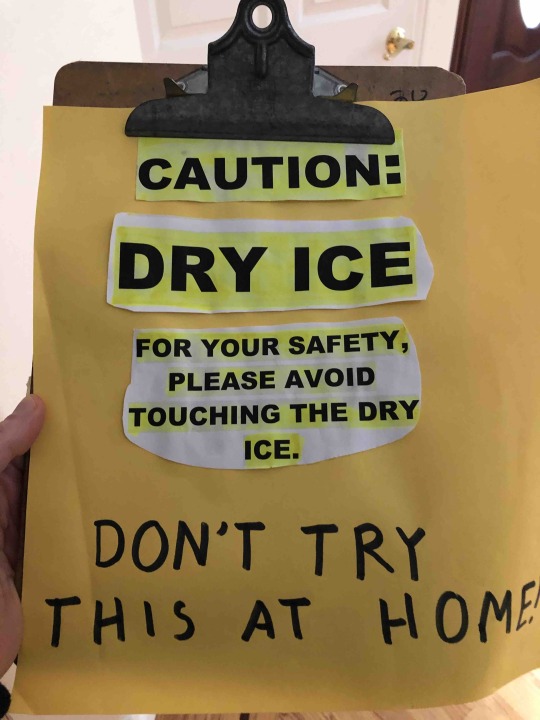
Kids will need to be careful not to touch the dry ice or the velvet. That’s the only big hazard here. Adults (or high school age kids) should also be the ones to pour the alcohol onto the sponge and velvet.
My son Nicholas made a movie (big file, about 57 MB, MP4 format) about our efforts. It starts with a discussion of making the cloud chamber from a metal coffee can, an effort we abandoned because we ran out of time, but then it moves to the design on which we finally settled (we had two designs going at once, just in case). It might help you when making your own. Please forgive the “home video” nature of it, and our messy garage. It even shows the alcohol “rain” (but we didn’t capture any particle trails on the video).
If you give this project a try, please email me to let me know how it worked out!
